You can use the MX Probe to Surface Scan or Pocket Scan.
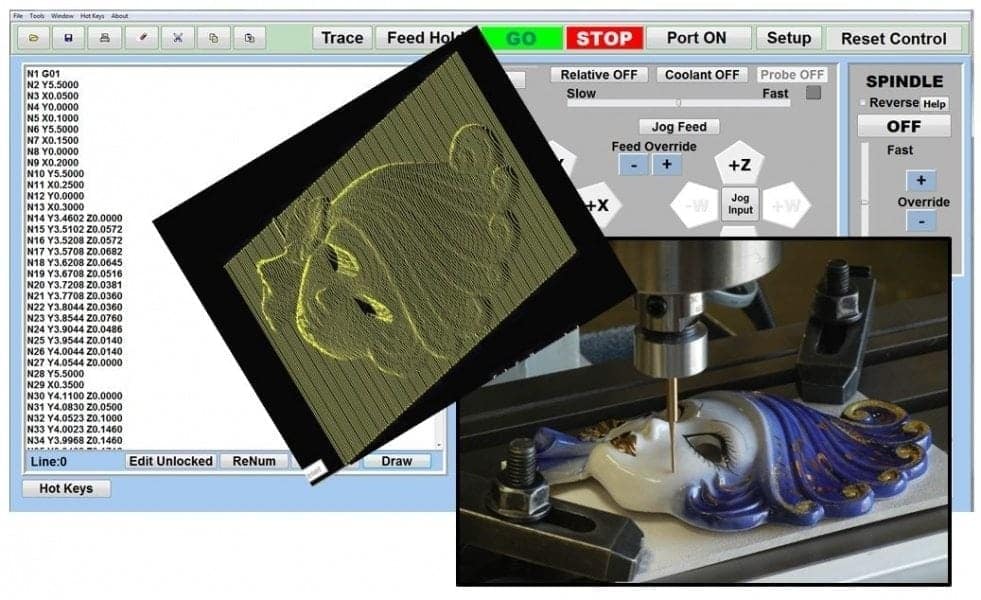
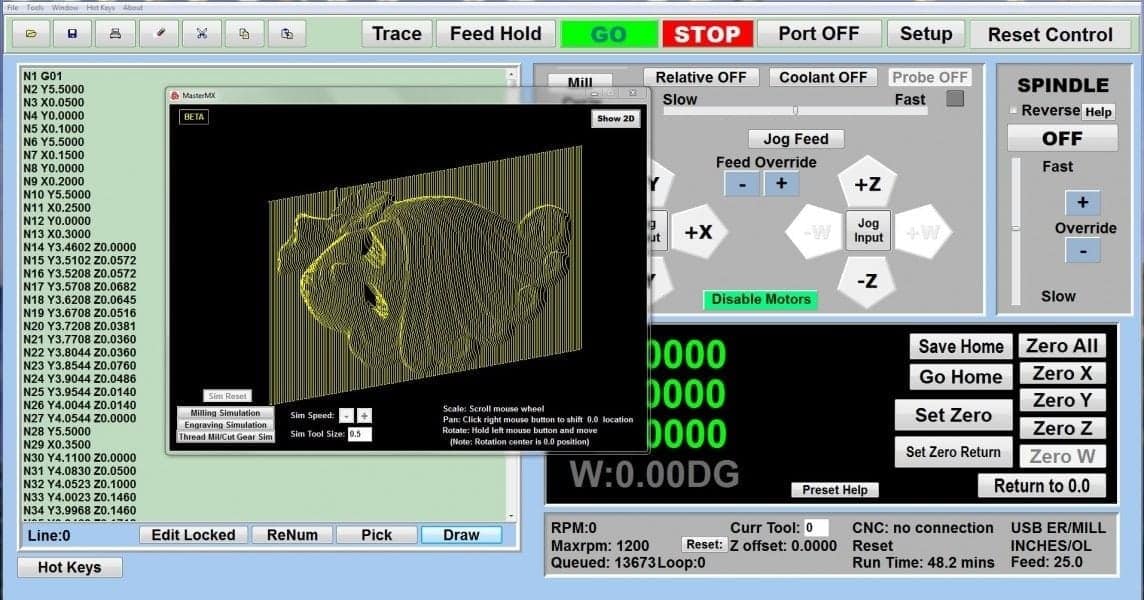
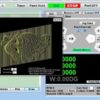
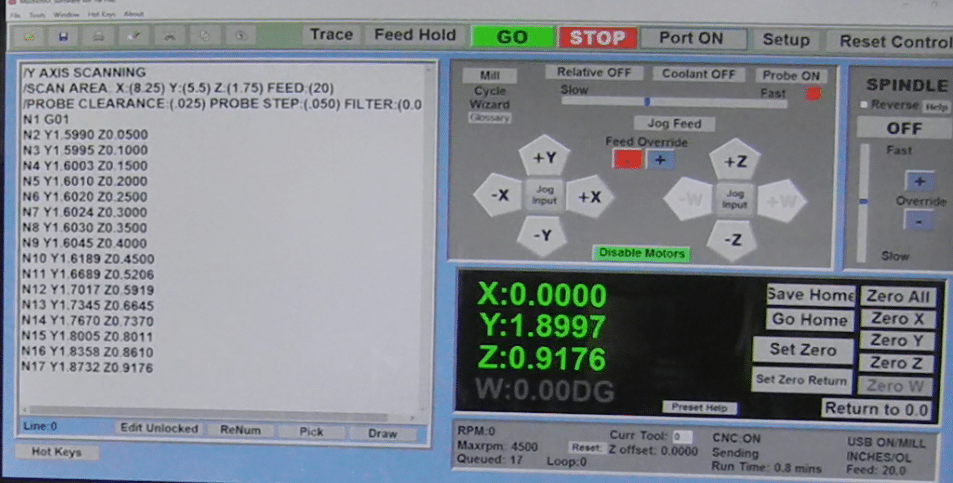
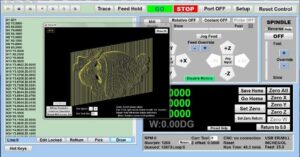
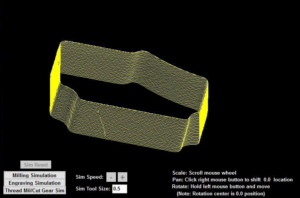
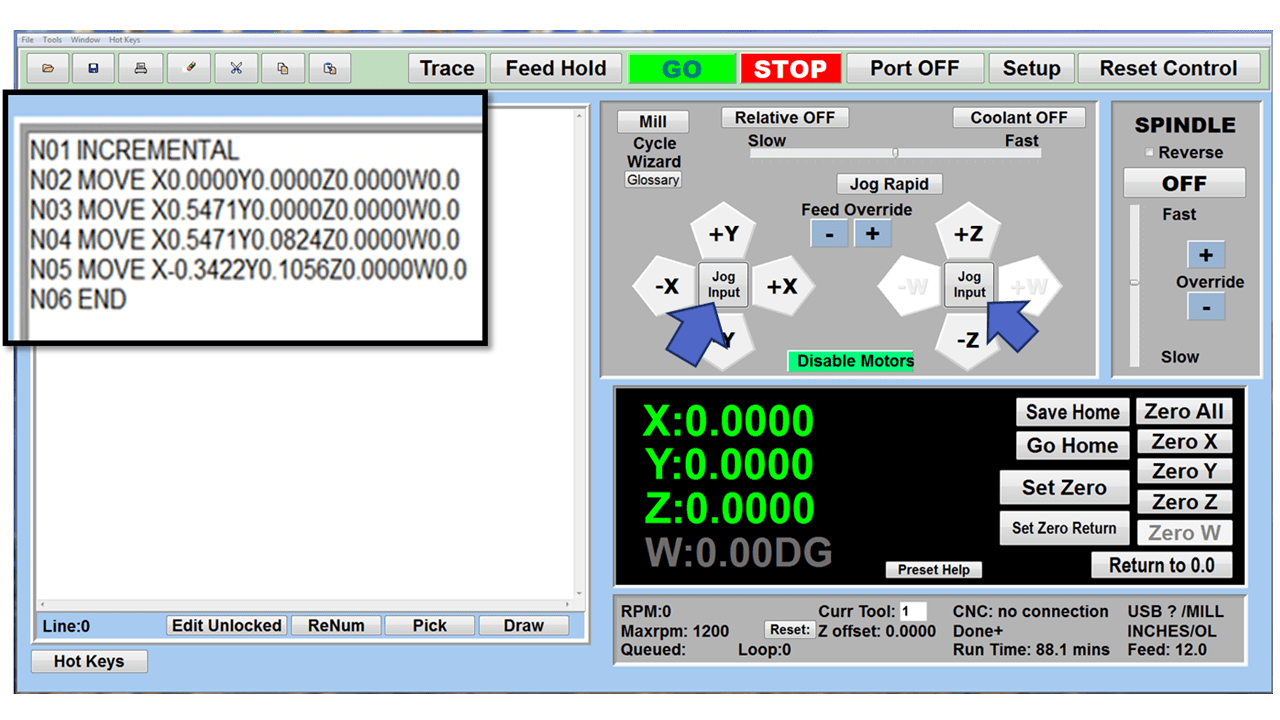
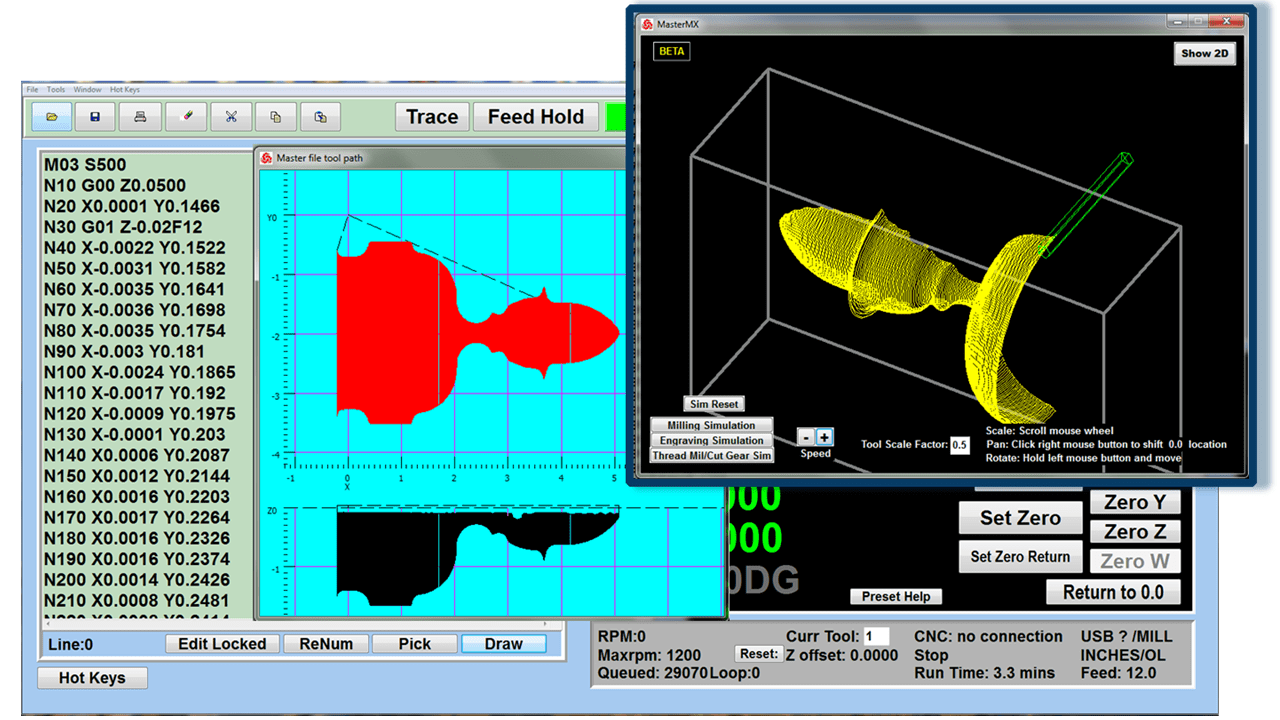
To “surface” scan a low profile object, you can program the probe along the X or Y plane. The stylus will travel over the part starting on the left side front corner of the object and work its way to the end of the part on the right side. Depending on how the stylus moves, it will record linear and interpolated movements along the X, Y, and Z planes directly on the MX Editor:
From here you can add some feeds and spindle speed to the recording and save the file to machine your part. Please note this is simply a point plotter from end to end of your part. This is not a streamlined approach to machining a part for production runs. This is not a scanner in the sense that one can take the plotted points and further develop the recording in a CAD software. You will need to develop the recording into a working tool path program such as adjusting the Z axis and add more movement lines to the program to remove material if you are going to start with a block to carve out into a part.
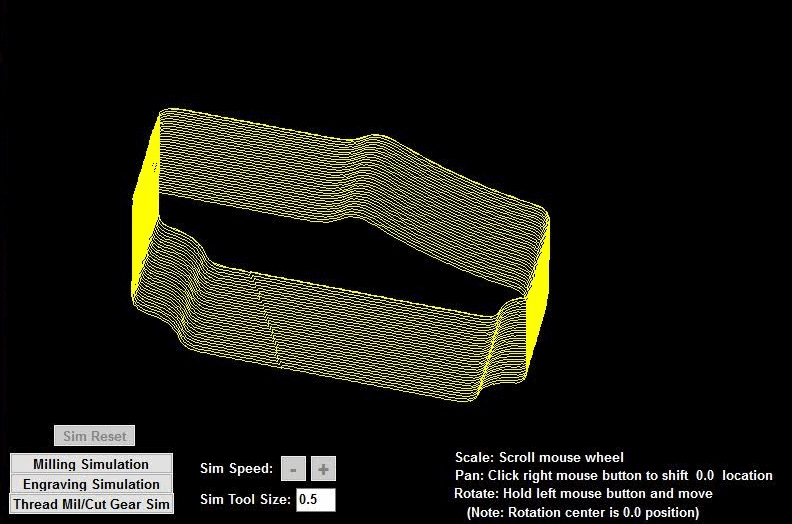
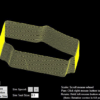
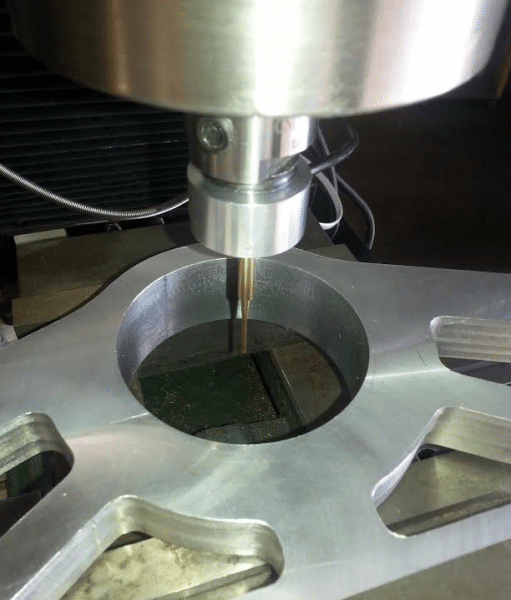
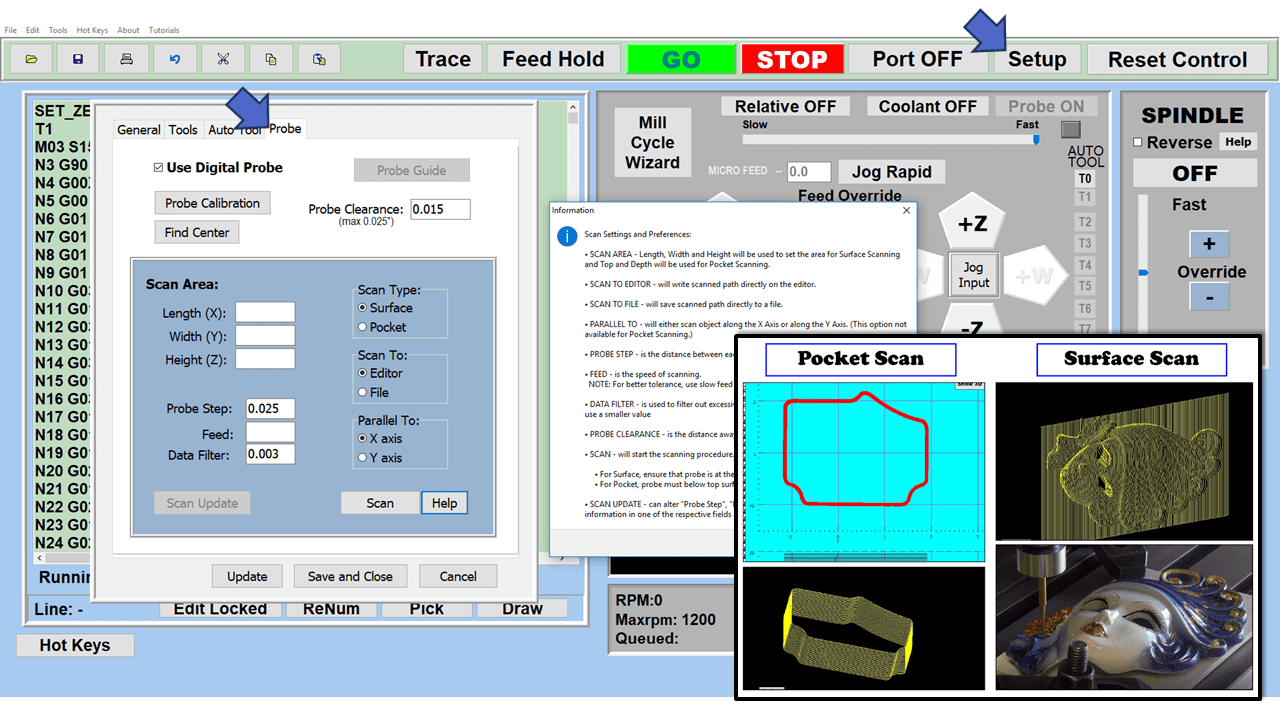
To “pocket” scan an object containing a closed pocket such as circles or squares, the scan will start from the top front, work its way inside of the pocket, and scan the entire perimeter of the pocket.
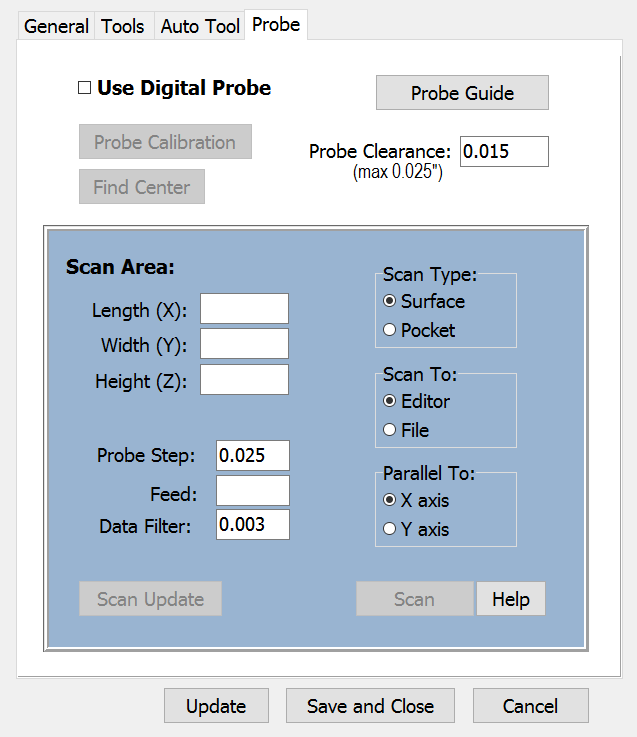
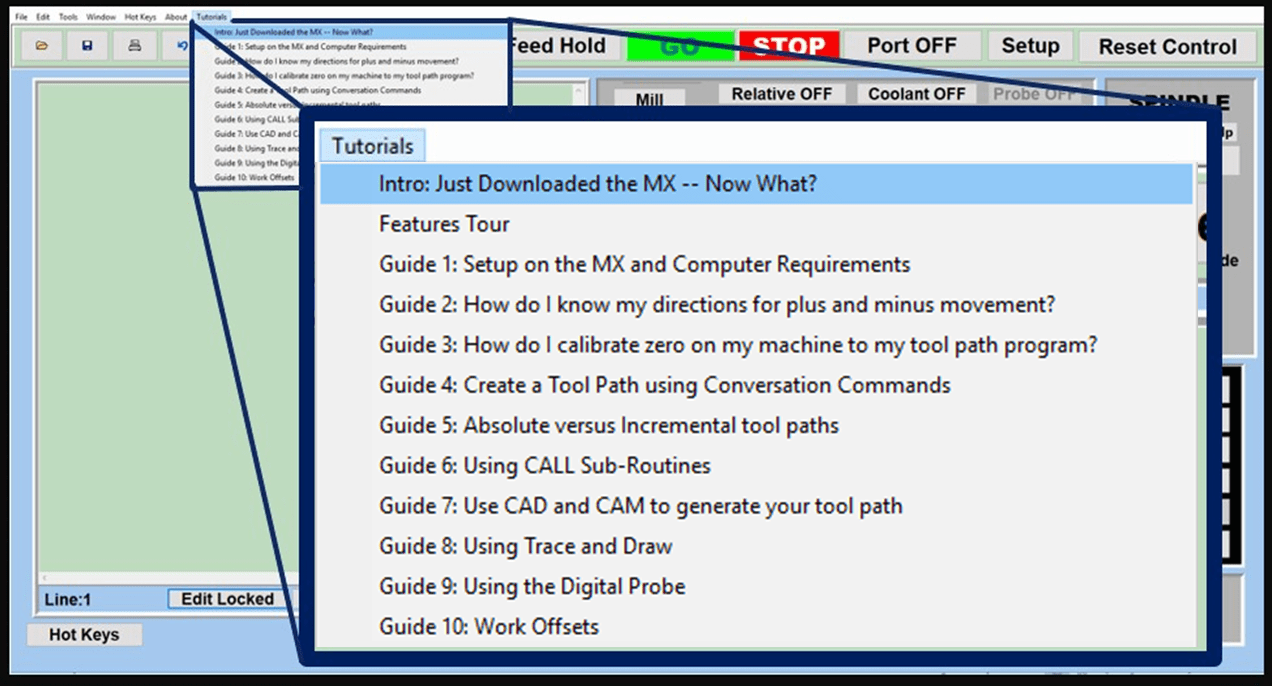
Under the Setup of the MX software you will find the Probe Tab which will allow you to calibrate and program your probe. Your “Probe Step”, “Feed”, and “Data Filter” can also be changed on the fly while the probe is in the middle of scanning your object.
Probe Features:
- Scan Area – Length, Width and Height set the area to be scanned.
- Scan to Editor – will write scanned path directly on the editor.
- Scan to File – will save scanned path directly to a file.
- Parallel To – will either scan object along the X axis or the Y axis.
- Probe Step – is the distance between each step in any direction.
- Feed – is the speed of scanning.
- Data Filter – is used to filter out excessive data written during scanning. The more detailed the object, the smaller the value should be.
- Probe Clearance – is the distance away the probe will clear after each contact.
- Scan – will start the scanning procedure.
- Update – can alter the Probe Step, Feed, or Data Filter on the fly while object is being scanned.
Plus, you can use the probe to quickly find the center for just about any pocket. Simply lower the stylus anywhere inside the pocket, and press “Find Center.” The stylus will travel from end to opposite end along the X and Y direction, will calculate the movement, and the stylus will stop dead center of the pocket.
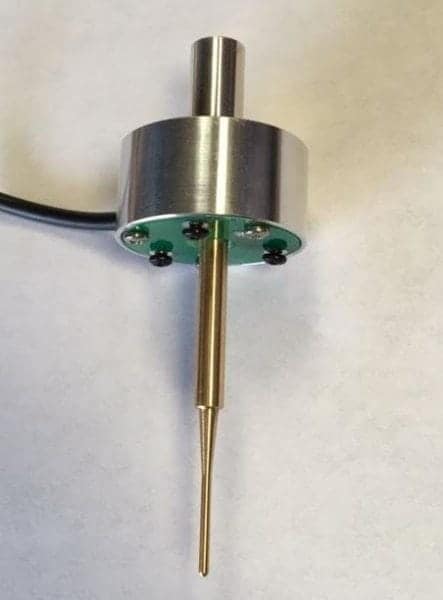
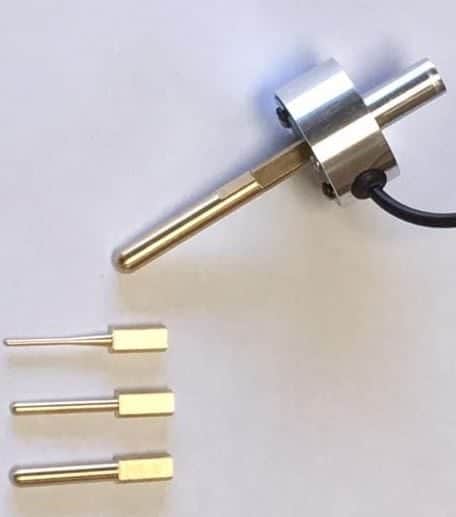
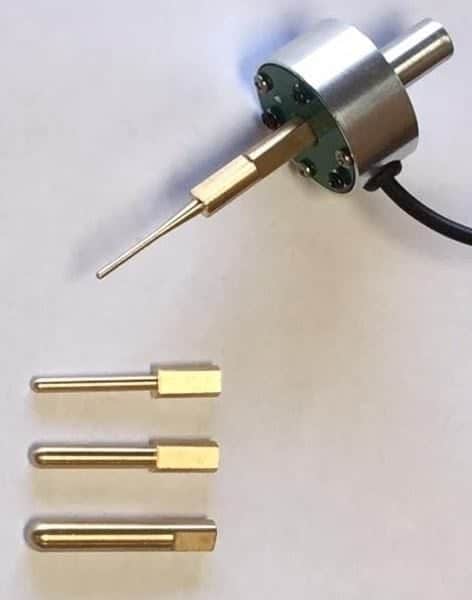
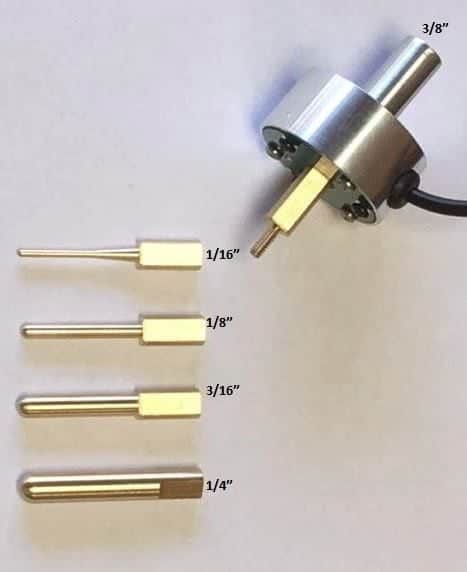
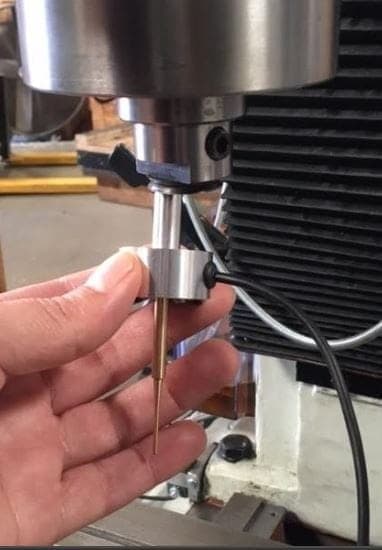
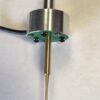
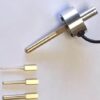
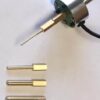
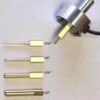
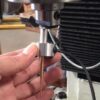
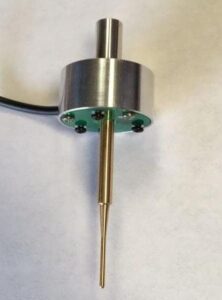
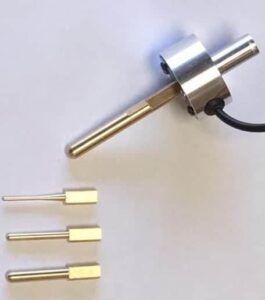
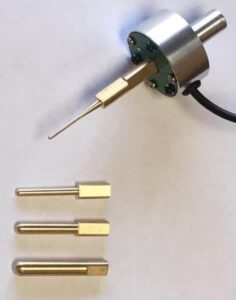
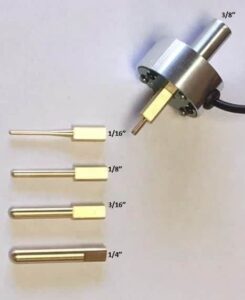
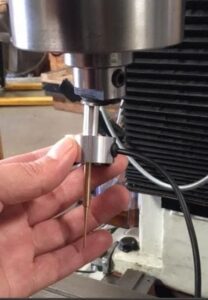
The probe comes standard with a 3/8″ shank to easily secure by collet at the end of your spindle. The probe comes with four ball end attachments that you can easily screw in place. So the more intricate and detailed your application, the smaller the stylus tip you will want to use. Your cutting tool will need to match the size of stylus you will be using to generate your tool path.
Sizes:
- 1/16″
- 1/8″
- 3/16″
- 1/4″





Reviews
There are no reviews yet.