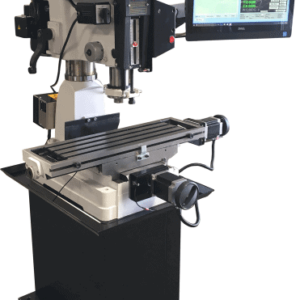
Desktop CNC Mills
For versatility and precision, few machine tools can beat the desktop CNC milling machine. A good desktop CNC machine provides operators with a range of features, from a small machine footprint to high-precision controls. The CNC Masters’ collection of desktop mills are perfect for small businesses and companies looking to expand their offerings, with plenty of power and an affordable price.
Showing all 4 results
Desktop CNC Machines for Hobbyists and Professionals Alike
Like its woodworking counterpart, the desktop CNC router, the best desktop machine combines several quality features in a reliable, well-built package. That means variable spindle speed, easy-to-learn and operate control software, a robust power supply, and the best quality cast iron frame. The idea is to take the best features of a full-size industrial milling machine and offer them in a machine with a smaller footprint, better suited for a small business or small workshop.
While desktop milling machines often have a reduced cutting area, they can still work with various metals and similar materials. Many small shops and home workshops that purchase desktop milling machines are looking for a reliable machine that provides versatility and good quality.
The Ideal Desktop CNC Mill
The best CNC routers and milling machines can cut hard and soft materials, including plastics and aluminum, across various applications. That’s why you’ll find benchtop mills everywhere, from a small shop to an R&D department.
At CNC Masters, we offer three of the best Table Top Milling Machines online. Each is a desktop CNC mill built to provide the most power in a compact package at an affordable price. Whatever your project and whatever your material, from metal to plastics, CNC Master machines allow you to create whatever you need. All you’ll need to harness the full precision and control of these benchtop mills is a computer, a bit of time, and a willingness to learn.
These are complete 3-axis machines: X, Y, and Z-axis. They are fully G-code programmable, and compatible with a number of existing CAD/CAM programs and open source software. CNC Masters milling machines have enough power to tackle any project, and all the precision and control necessary to complete it to the highest standards.
What makes a great desktop CNC milling machine?
We know that purchasing a CNC milling machine is a big investment, so we strive to ensure that all our CNC milling machines for sale are built and tested to meet our exact specifications.
We source the best possible parts for our milling machines worldwide and then assemble them ourselves. This allows us to put our stamp of approval on our mills at the end of the process, and it also allows our buyers to do their CNC milling without worrying about the CNC machines they are using.
You can produce a lot of parts with our milling machines at once or just a few, and you can have complete confidence in the CNC machines producing high-precision parts reliably and consistently.
How much is a desktop milling machine?
The typical investment is in the thousands of dollars. Enterprise milling machines often cost 6-figures; that includes industrial horizontal mills, which are often placed on production lines to churn out tens of thousands of identical parts.
Our CNC mills are built to be high-quality and affordable, providing hobbyists and small-scale professionals with the high-level tools they need to handle any project, no matter how ambitious. Please call us with any questions you may have.
How much is a hobby CNC machine?
Most hobbyists look for a smaller desktop mill to provide all the power they need for larger projects without taking on a price tag beyond their reach. CNC Masters tabletop milling machines start at $5,800, providing an affordable option packed with features.
Should I buy a used CNC machine?
Due to the high price tag, many hobbyists look for used machines. If that’s you, CNC Masters carry several used machines for every price range. Owning a CNC machine can increase your profit margins and be a significant saving for your business, but purchasing a CNC machine can be a big investment. Price is something that shouldn’t keep you from the best CNC router. If you’re looking to try machining out for the first time and have a thin budget, we offer used machines for sale at highly discounted prices.
Are vertical milling machines better than horizontal milling machines?
Vertical and horizontal milling machines are quite different. Vertical mills are usually smaller, cheaper, and easier to use than horizontal mills. However, horizontal machining centers are better suited for large-scale industrial applications.
A desktop CNC milling machine shares a number of characteristics with a desktop CNC router. Both are oriented in largely the same way, with a workpiece fixed to a bed beneath a rotating cutting tool.
What is a desktop CNC milling machine?
A desktop CNC milling machine is a milling machine that fits on a desktop or benchtop. It is a smaller but comparable version to a full-size milling machine.
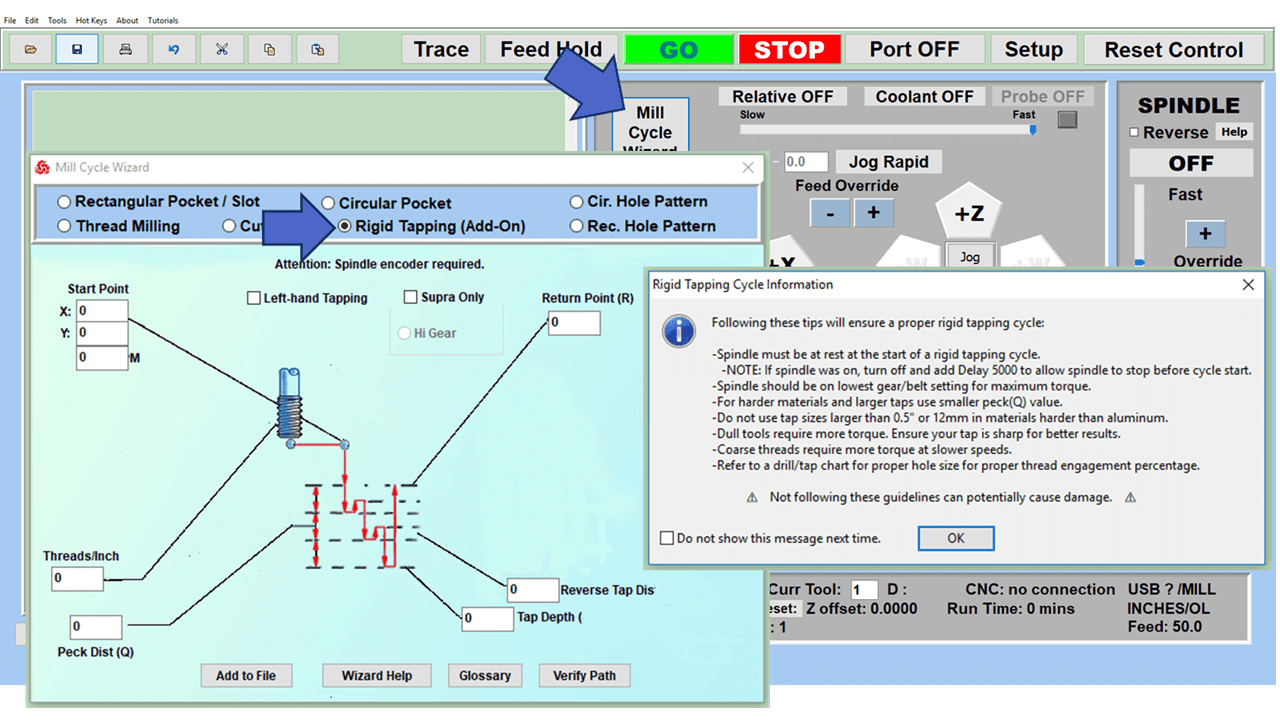
Get Our CNC MX Software Program
Our custom CNC Software is included with every purchase of our CNC mills, CNC lathes, and router machines. Run our CNC Software on Windows 10, Touch Screen Desktop, or Laptop PC by standard USB port connection.
We offer three of the best Table Top Milling Machines:
Our desktop milling machines come under $10,000, providing an accessible, professional option for hobbyists and trained machinists.
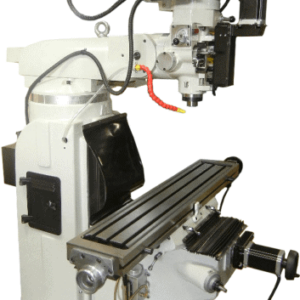
- Max CNC Mill 21.5″ x 10.5″ on X and Y axis
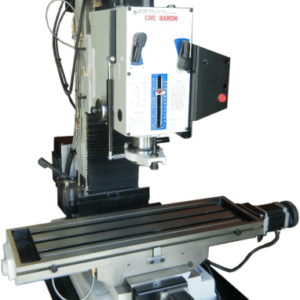
- CNC Baron Milling Machine 21.5″ x 7″ on X and Y axis
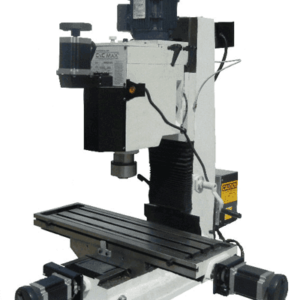
Spindle 6 Speeds Gear Head with Oil Bath for Stronger Torque (60 HZ: 196, 388, 662, 893, 1768, 3000 spindle RPM.) (50 HZ: 163, 323, 552, 744, 1473, 2500 spindle RPM) - CNC Jr Desktop Mill 19″ x 7″ on X and Y axis. Powerful X, Y, and Z-axis micro-stepper motors are size 34 with 1200 in/oz. of torque. Features a 2HP, 220-240vac single phase spindle motor