

The CNC Jr. Retrofit Kit Lets You Get More Done in Less Time
Now we have a way to make it even better.
Our CNC Jr. retrofit kits will make the CNC Jr. easier than ever to use while also giving you the ability to make cuts that are even more accurate. The retrofit kits are able to simplify complicated plans, such as the production of precision cuts, and their complex measurements. It condenses a normally long process into the space of a few minutes. You will save production time and have the ability to pay for the cost of the kits after a few production runs.
With our easy-to-understand instructions, the retrofitting project will be complete in just a few short steps. First, mount your new parts. Install the software that is bundled with the retrofit kit. Then, plug the new control unit into your computer’s USB port. That is it! You are now ready to use your newly updated CNC Jr.
You can also use files from CAD-CAM or CorelDRAW to scan images in before engraving detailed parts.
Plus, with the CNC Jr. retrofit kit, think of all the time you will save. A process that previously took hours to do manually will now only take minutes. You can get perfect cuts without all the measuring, cutting, and, of course, measuring again. And they will be precision cuts, exactly as you need them to be.
Here at CNC Masters, your satisfaction is our number one concern. If you encounter any problems with the retrofit kit, we offer unlimited, lifetime technical support. We will walk you through any issue you might have, either by e-mail or phone. When we say “lifetime,” we mean it. We even transfer our technical support to new owners of any previously owned CNC Masters CNC controller or software.
We offer a one-year warranty and free master software updates. We even give discounts to existing CNC Masters customers.
With our CNC Jr. retrofit kits, it is easy to get started, use, and master. Not only will you get more accomplished in less time, you will be amazed at the results.
Order the retrofit kit for the CNC Jr. and get a whole new life out of your RF-30 or RF-31 mill drill.
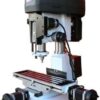
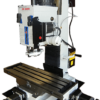
The CNC Jr. Retrofit Kit
Retrofitting the CNC Jr. Table Top Mill is simple and breathes new life into machines that may have outgrown their purpose or are no longer used. Our CNC conversion kits are easy to install, simple to use, and makes machines more accurate than ever before.
Any CNC Masters customer knows that the CNC Jr. has built a solid reputation based on ease of use, effectiveness, reliability, and low initial and maintenance costs. Even better, the machine boasts a compact size perfect for any workshop, whether it is for a one-man operation or a larger factory. By installing the retrofit kit, an already great machine turns into something much more.
Installation of the CNC Jr. conversion kit is easy and takes minimal time. Users only have to mount the new hardware, install the software, and connect the new control module via USB. Any user can start taking advantage of the kit immediately and will be able to enjoy the enhanced precision the same day.
For users who prefer CAD-CAM or CorelDraw, the retrofit kit incorporates modes that allow users to scan images before engraving more detailed parts.
Complicated procedures and precision cuts are vastly simplified, reducing the long process until it’s only a few minutes in length. Complex plans that require intense measurements can be eliminated with our CNC Jr. retrofit kits and the time saved will pay for the initial investment almost instantly.
As with any CNC Master product, we stand by the CNC Jr. retrofit kit and pledge our support to any customer. Contact us at any time to receive support from our expert staff, as we always strive to help our customers by supplying high quality technical support at any time after our products are purchased. The CNC Jr. retrofit kits are backed by a limited one-year warranty but we always help our customers throughout the product’s life.
The CNC Masters Testimonials:
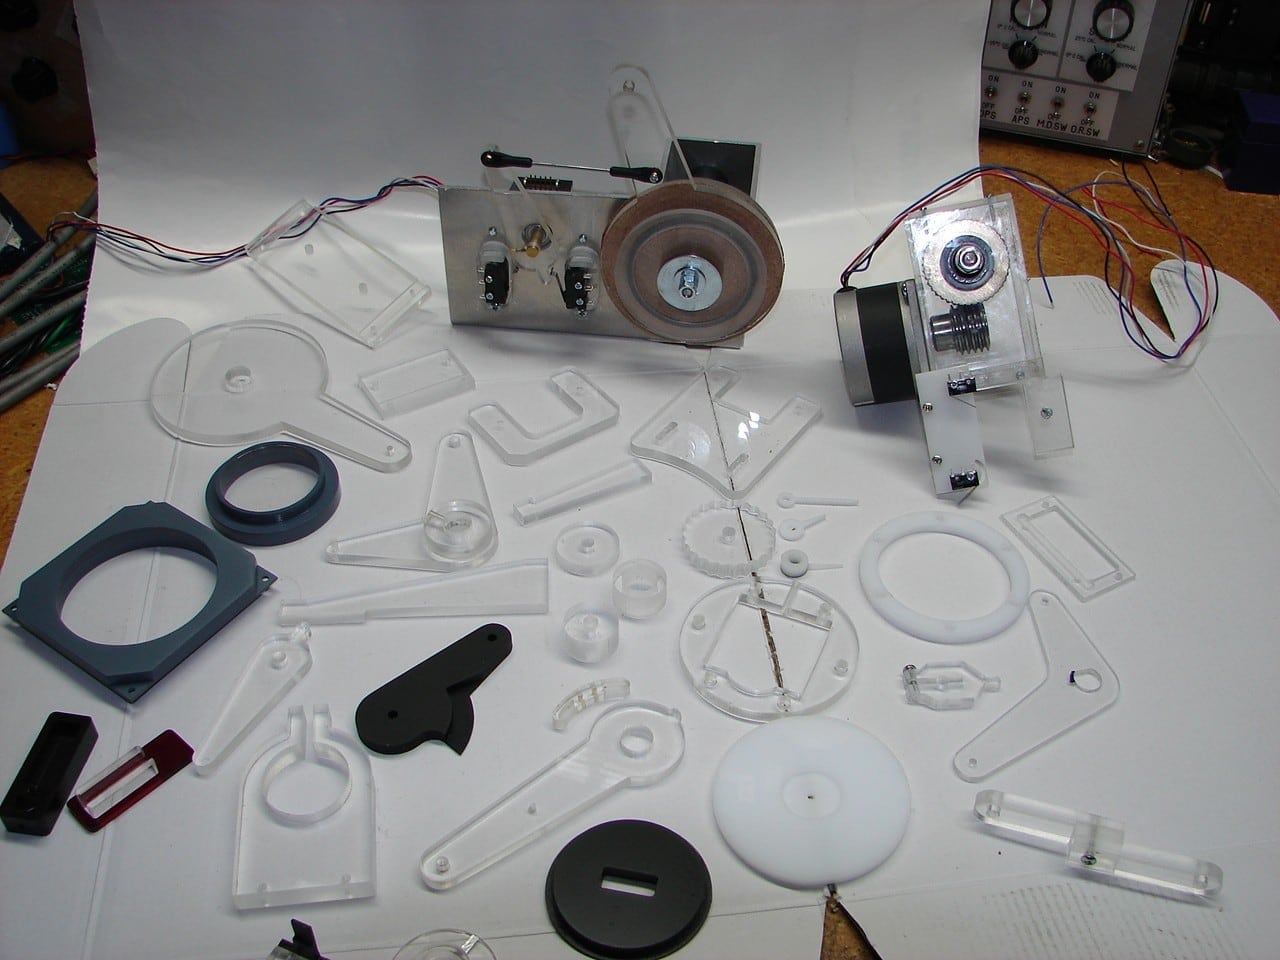
This picture was given to us by a satisfied customer, John Russell of Ruscool Electronics Ltd. from New Zealand using the CNC Jr. Mill. The CNC Jr. Mill is a popular machine that is purchased by many customers worldwide besides the USA. We take our aftersales support very seriously regardless if you are in the USA or abroad. These are just some of the countries that represent our customers who have purchased the CNC Jr. Mill or the CNC Jr. Retrofit Kit: South Africa, New Zealand, United Kingdom, Gabon, Thailand, Japan, Mexico, El Salvador, Philippines, Spain, Italy, Israel, Germany, Norway, Sweden, Vietnam, South Korea, Australia, Canada, Columbia, Argentina, Brazil, Puerto Rico, and Peru just to name a few!
“Many of the parts I have produced on much larger and more expensive machines could have been produced on the CNC Jr. The benefits of the CNC Jr. are less cost and less size. When we are looking at new machinery, we sometimes forget that the concrete these machines sit on is not free.” – John Kitchens, Dallas, Texas
These pics were given to us from Avro
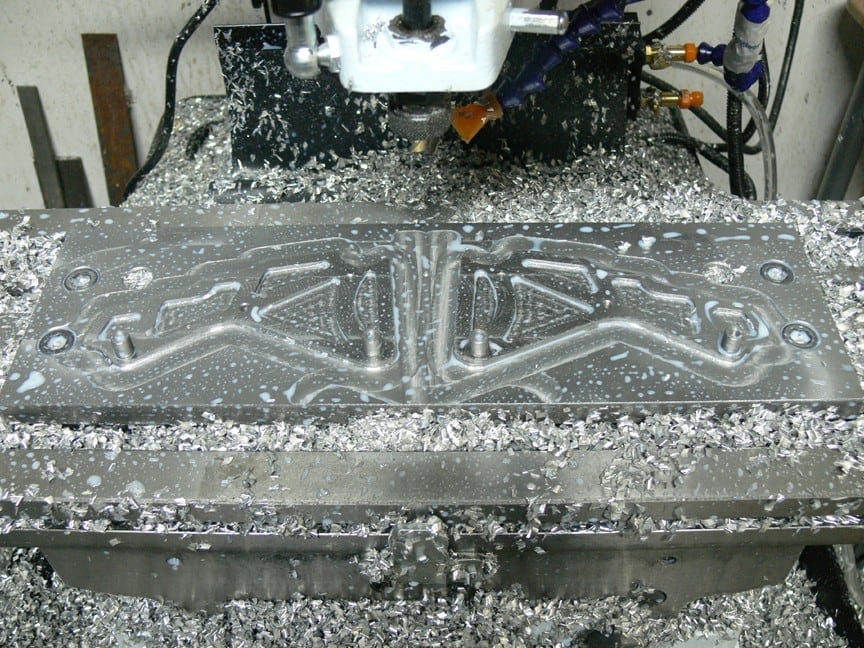
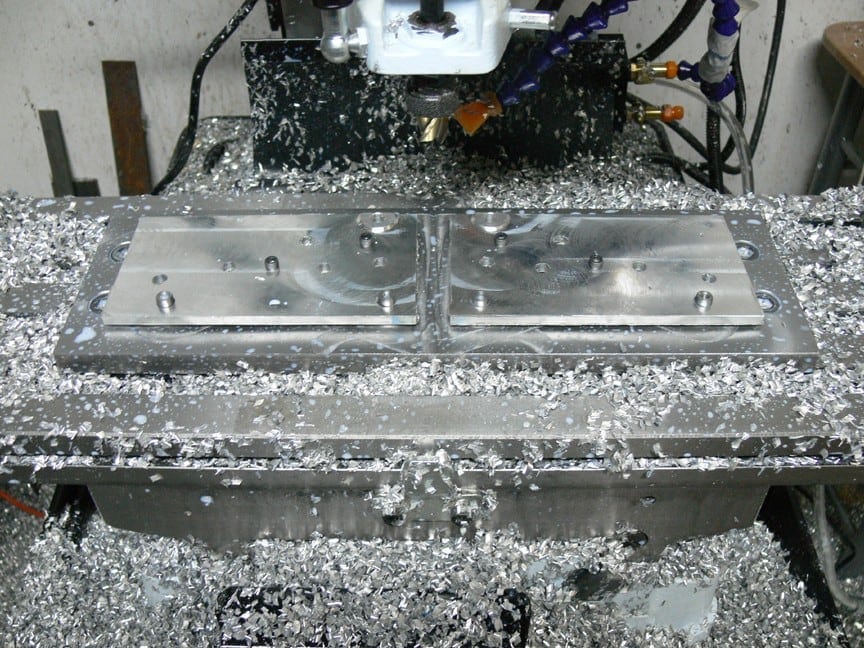
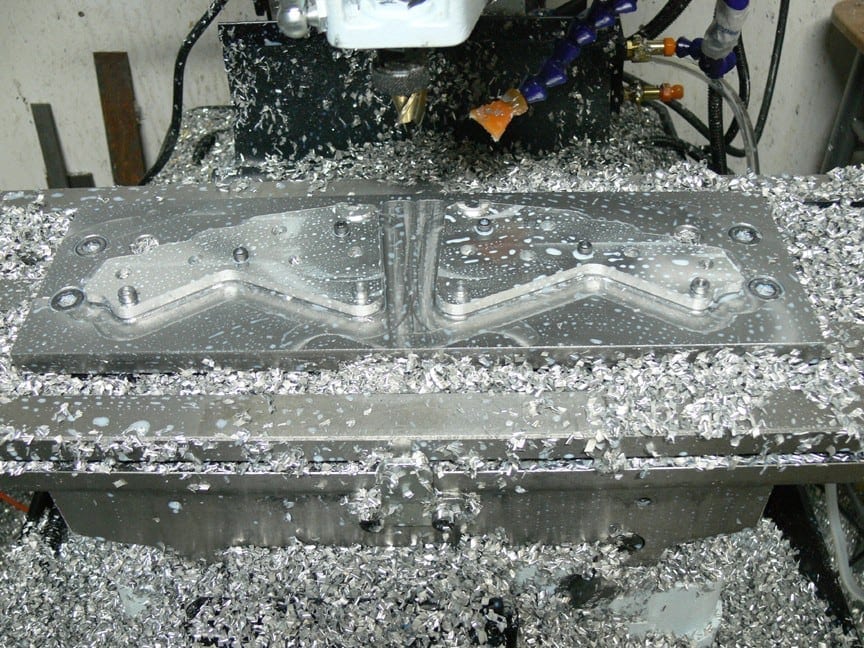
Enterprises in Ontario, Canada. He said it took him only 15 minutes to machine these two aluminum frames (third pic on right) using the CNC Jr. desktop milling machine.
Contact us right away for assistance or explanation on any of our products.


Reviews
There are no reviews yet.